Monthly Archives

March 2018

Rainbow Cake

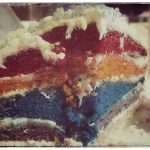
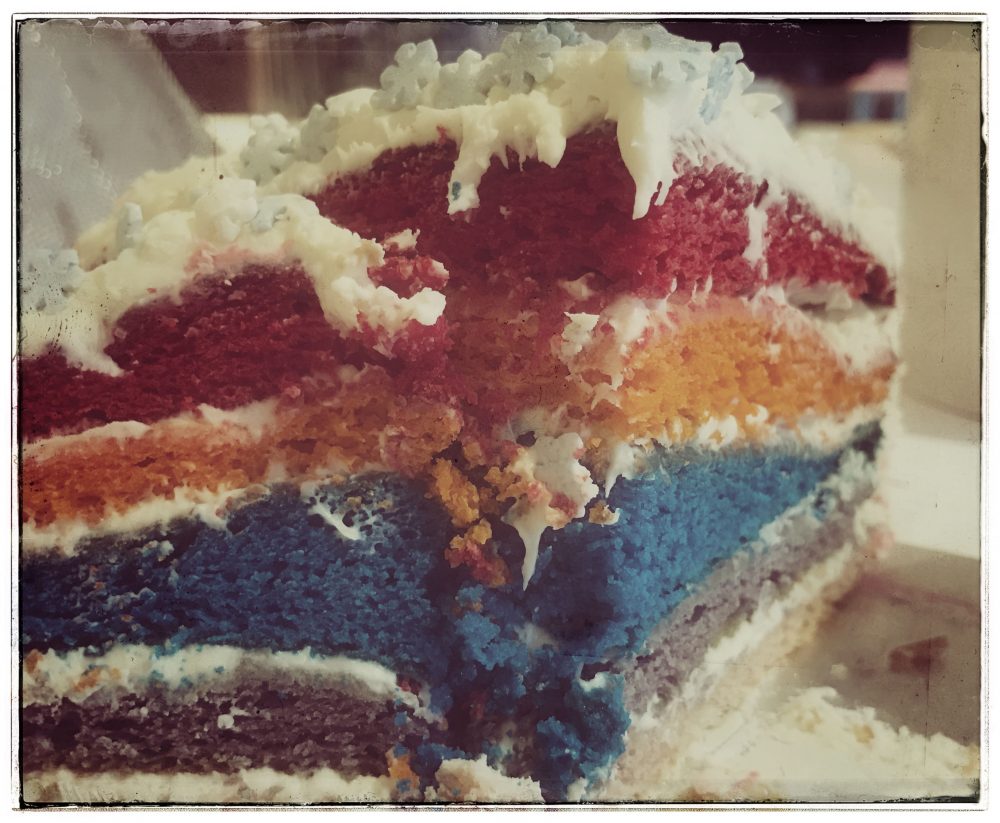
What’s better than a sponge cake? A sponge cake with all the colours of the rainbow!! Well 5 colours anyway. This cake takes a basic sponge mix and pimps it right up. It’s perfect when you want to keep things simple but make something a little bit different. This cake was made using the Wilton Easy layer cake pan set and the Wilton food colouring pack.

Ingredients
200g self raising gluten free flour
1 tablespoon xanthan gum
200g golden caster sugar
175g unsalted butter at room temperature
3 eggs beaten
1 tablespoon milk
5 food colourings

To decorate
300g softened unsalted butter
600g icing sugar
4 tablespoons of milk
food colourings in the colours of your choice

Grease the cake tins and preheat the oven to 150C.

I prefer the all in one method for sponges so I add all the ingredients into a food processor and mix until well combined.

Divide your mix into 5 bowls, in each bowl add a couple of drops of the colour you want for that layer. Mix well until the mix is a uniform colour.

Put the mix into the tin and bake for about 15 minutes. Remove from the oven when the cake starts to come away from the sides.

Allow to cool.

In the meantime, to make your buttercream icing, add the butter to a food processor and slowly add the icing sugar, after you have added about half the icing sugar, add half the milk. Continue adding the icing sugar and the milk.

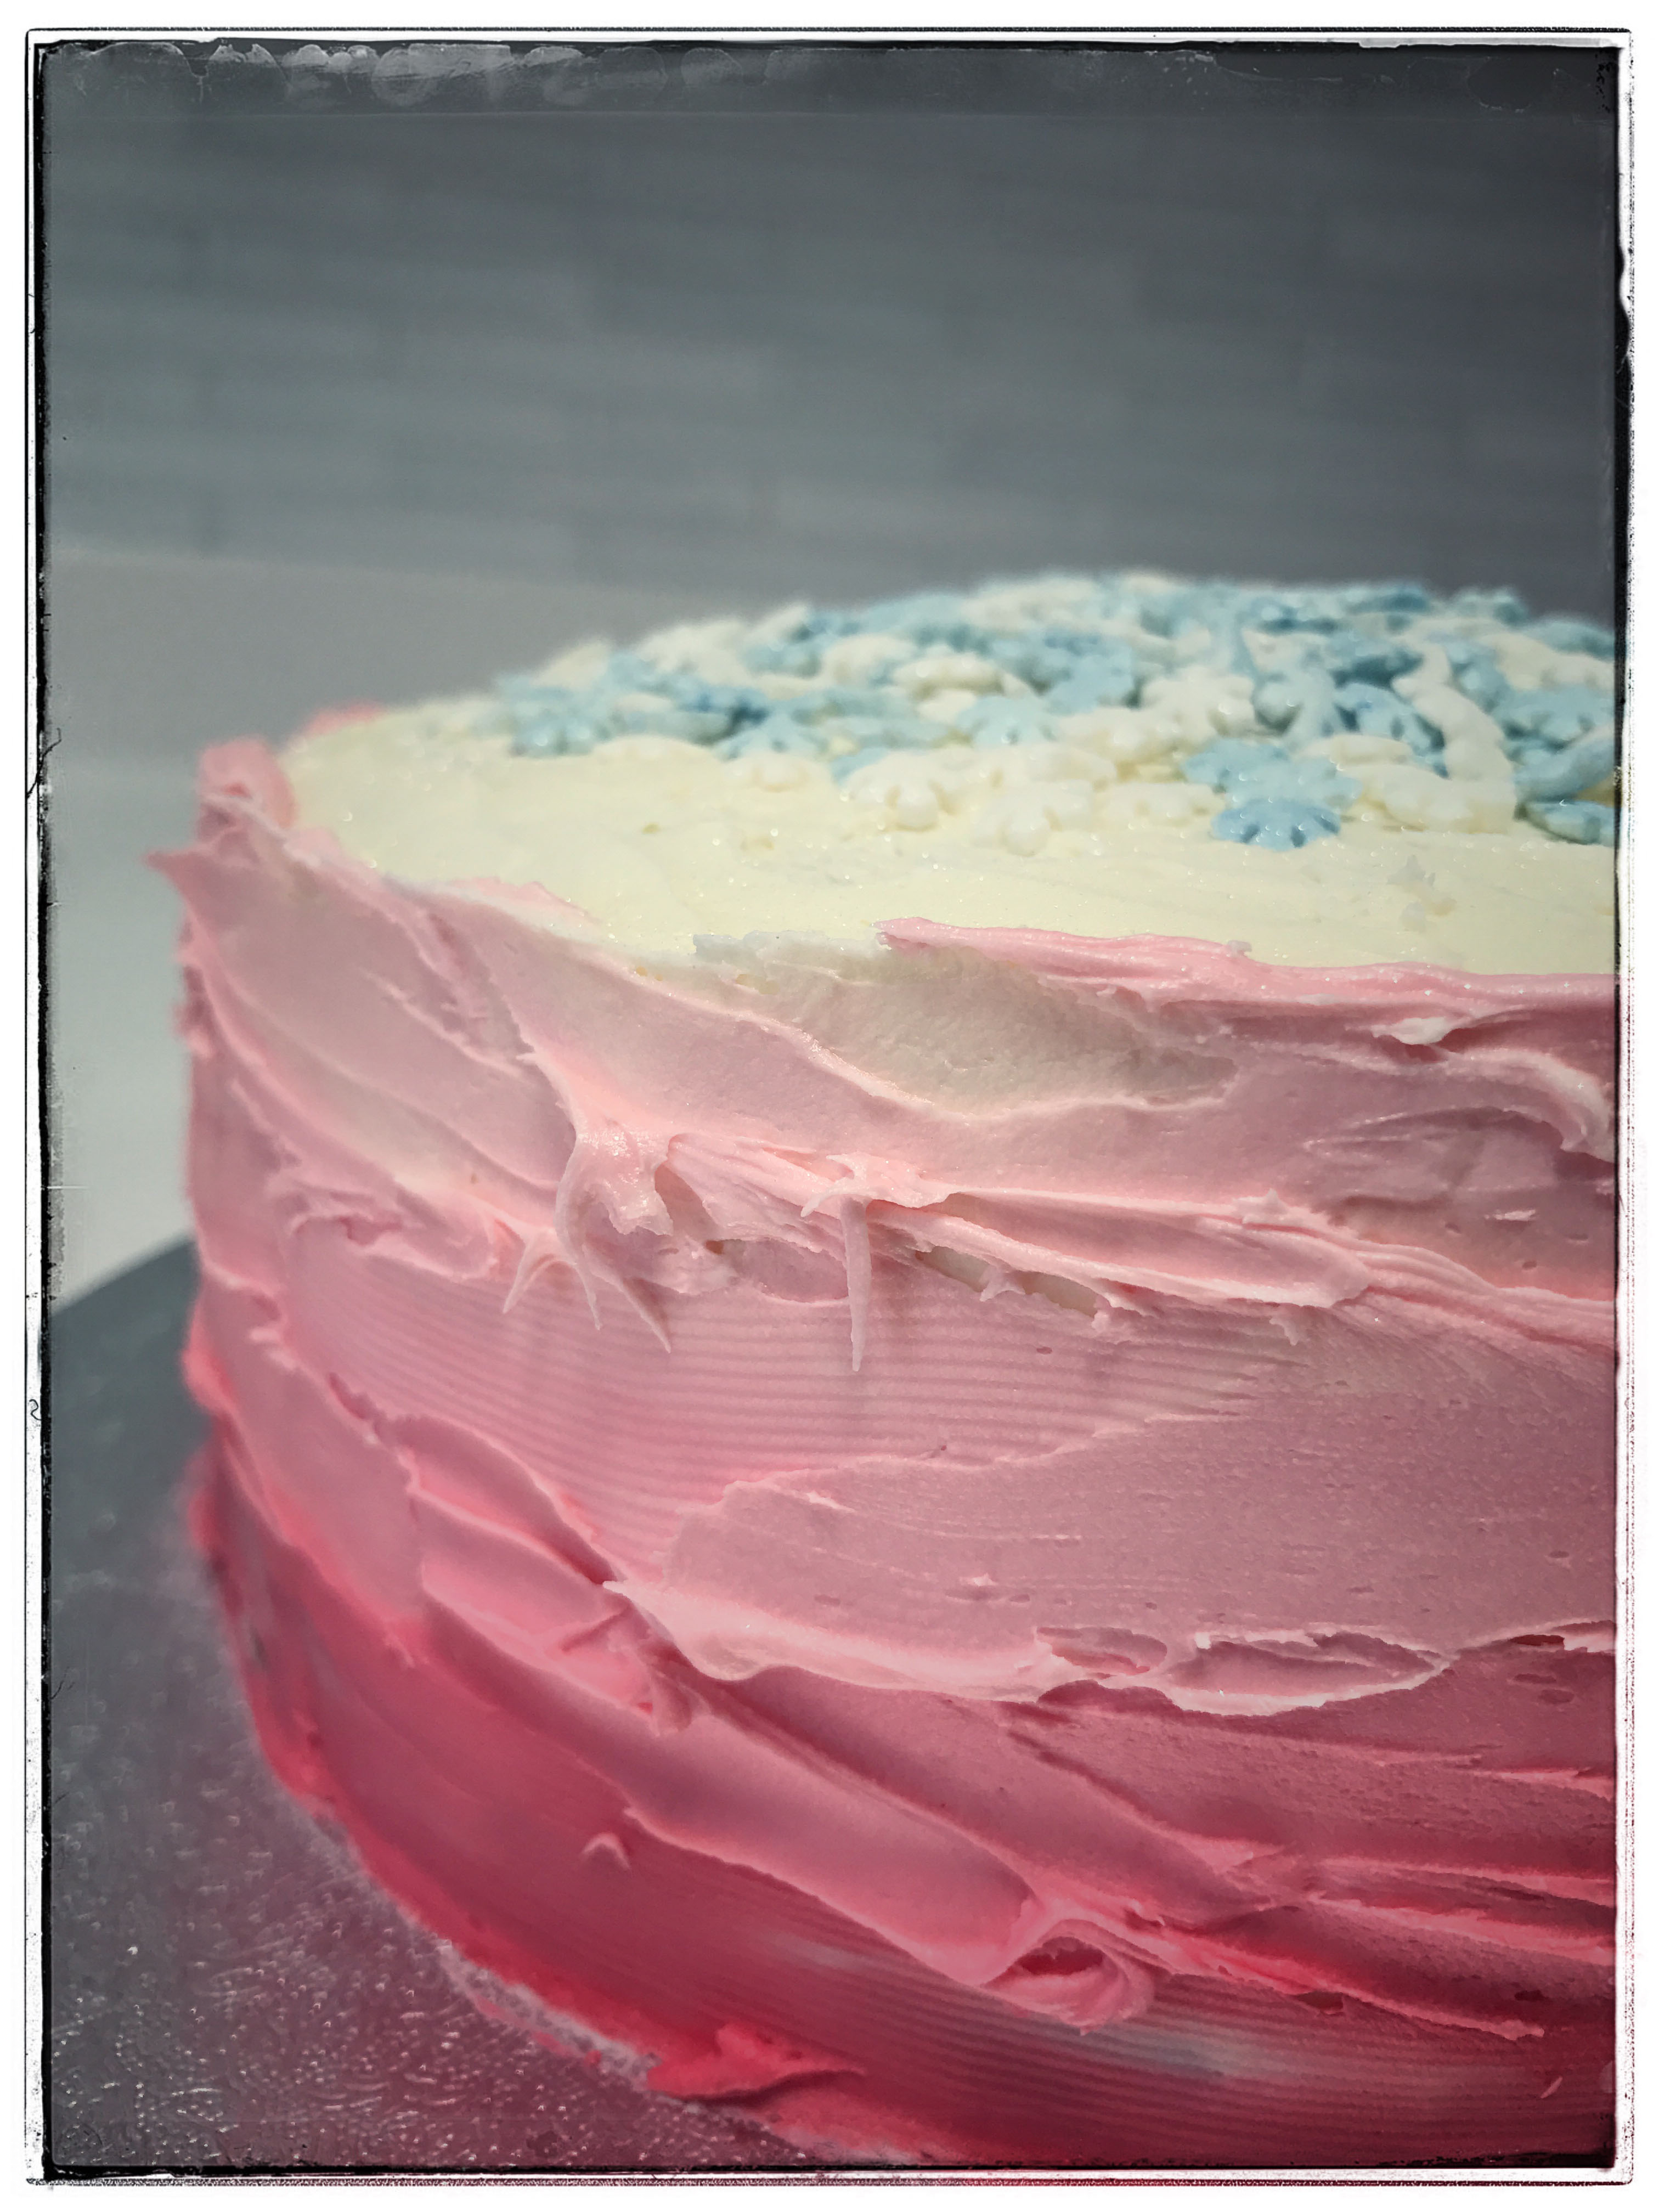
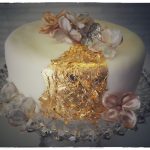
I wanted an ombre effect on the cake, so divide your buttercream in half. One half will be for the filling and top, the other for the sides.

When the cake has cooled, spread butter cream throughout the layers and on top.

Add a couple of drops of food colouring to the remaining butter cream and mix well. Spread half of this mixture all around the sides of the cake. Add a couple more drops of food colouring to the remaining buttercream and spread half of this 2 thirds of the way up the cake.

With the remaining butter cream, add a further 1 or 2 drops of food colouring, mix well and spread across the bottom third of the cake.

Not so traditional blondie recipe

Where traditionally a blondie has no vanilla and uses brown sugar, this recipe uses both and it also involves melting the white chocolate in the same way you would the milk or dark chocolate in a traditional brownie. And while I’m at it, instead of adding nuts, a frequent addition to a blondie, this uses linseed. Oh and to really throw caution to the wind, it’s gluten free.

Ingredients
150g white chocolate buttons
125g unsalted butter
150g golden caster sugar
3 tablespoons golden linseed
1 teaspoon vanilla extract
200g gluten free plain flour
1 tablespoon xanthan gum
2 medium eggs

Rectangular tin

Preheat the oven to 150C and grease and line your tin.

Melt the chocolate buttons and the butter in a bowl over a simmering pan of water. Just as the last piece of chocolate is about to melt, remove the bowl from the pan and stir until it has melted.

Add the linseed and vanilla and then stir in the flour and xanthan gum before finally adding the eggs, one at a time.

When the mix is well combined, pour into your lined tray and bake for about 35 minutes until that top starts to go golden and the edges just start to lift from the sides.

While the blondie is still warm, cut into squares.

All that glitters is gold

After all that snow that the beast from the east left us, how about something all glittery and sparkly? During my usual trawl through the cake supplies shop, I took the plunge and bought some sheets of gold leaf, something I’ve wanted to try for ages. And while I was there I picked up some edible gold paint and sprinkles, well it would be rude not to.

As it was my first foray into gold leaf I wanted to give myself something simple to get a good feel. I decided on a simple design on a plain iced white cake and topped with some silk flowers. It’s actually a lot simpler than I thought. You need a couple of brushes and some water; brush the water onto the area you want to cover, then place the gold leaf onto that area and smooth with the dry brush. I jabbed the gold leaf a little to give it some texture. I used some silk flowers that I had that had a little gold sparkle to top off.

While I was on a roll, I decided to paint some Haribo Star Mix in the edible gold paint, because why not? I opted for the ring and the love heart over the egg. The paint is ready to use, just brush on. It’s quite thick so you get a good coverage but the Haribo still needed a couple of coats. If you were painting straight onto icing one coat would be plenty.

And to complete the gold rush, sprinkles and stars scattered over cupcakes, probably the simplest way to bring a bit of bling into your cake making.

Thank You Cake

You can say thank you with flowers, or you can go that extra mile and bake something lovely. This little, sweat treat is big enough to show someone you care, but small and simple enough to make in no time at all. I made the flower shapes with a flower cutter, I’m not the neatest baker so this cutter was perfect and it came with three sizes so you can create any size of masterpiece.

I made this cake as an individual serving, having said that you could easily get two decent portions from this.

Ingredients
2 oz self raising flour
2 oz golden caster sugar

2oz unsalted butter, softened
1 medium egg
1 tbsp milk

11cm cake tin

For decorating
Butter icing
2oz unsalted butter
5oz icing sugar
1tbsp milk

250g ready to roll white icing
selection of ready to roll icing in colours for your flowers
flower cutters
Icing sugar for rolling
rolling pin

Preheat the oven to 150C and grease and line your tin.

Add all of the ingredients except the milk to a food processor and mix until well combined, if the mixture is a little tough add the milk.

Transfer to the baking tin and bake for about 20 minutes or until golden brown.

Allow the cake to cool.

To make the butter icing, mix the butter until soft then slowly add the icing sugar. Finally add the milk and mix until well combined.

Keep a small quantity of butter icing to one side to attach the flowers.

Spread the butter icing over the cake and chill in the fridge for about 20 minutes.

Roll out the white icing so it’s big enough to cover the cake and be trimmed.

Using the cutters press flowers in different sizes and colours.

Cover the cake trying to get as smooth as possible, trim off the excess. Attach the flowers with the set aside butter icing.