All Posts By

Sarah H

Flower Power

Our world has changed considerably over the past few months but I’m determined not to let the craziness of everything get to me. I found myself worrying about the daily release of coronavirus figures in the same way I used to wonder who was leaving the love island villa. 

One good thing to come out of all this is how I’ve been able to explore what is right on my doorstep. I’ve lived in this area for almost ten years and, shamefully, only recently discovered the prettiest woods. They were a haven when we were only allowed an hour exercise a day. During these four-ish months, I’ve noticed just how much these little serene places change. When I first went to the woods, it was full of the prettiest bluebells. Within a week these had all but disappeared and given way to a new colours. And then as if by internet magic, my Instagram suggestions started highlighting cakes using real flowers. If I was planning a wedding, using real flowers on a cake would be a bit of a no brainer for me. With that in mind have a look at these floral beauties.

Instagram @cynthiairanidesign

Instagram @lottastorten

Instagram @conniecocukru

Instagram @blushingcook image by @jamesbrooksco

Think pink

I was never one of those princess girlie girls and so it surprises me that as a fully grown adult I have developed such a love for pink. The thing is when you’re a grown up you can express your love for a colour in bigger ways than dressing your Barbie head to toe in it. I have tried to smuggle the odd little nod to pink in. Honestly, I can cut my hair off and walk around the house naked and there wouldn’t even be a blink of an eye, sneak in a little glittery trinket and they sniff it out straight away. It doesn’t stop me dreaming though and here is my wish list for all things beautiful, kitchenalia and pink.

The Aga, argh the Aga. How I dream of an Aga. This isn’t one just for pink lovers, there is a rainbow of colours to choose from, but for me it’s blush that has my heart.

Following on from the Aga is any of the cookware from Le Creuset, and this little number would look right at home on any cooker top. Plus it’s a lot cheaper than splurging on an Aga. Is it a sign that I’m a proper grown up if I’m excited by any type of Le Creuset pot or pan? They have such a solid and timeless feel that even though they’re pushing £100 it’s something that I would get so much use from. 

Accessories are by far the easiest way to add colour and a bar stool like this one from Cult Furniture is not only a thing of beauty but functional too. Plus it’s so much better when there is someone with you to chat along with while you’re cooking, and this bar stool means you could chat in comfort. 

I’m really into rugs at the moment, I find them a cheap but really effective way to brighten up any space. I’ve seen them featured a lot in kitchens and really like how they can soften a space. This one from Wayfair adds a vintage feel and the colours are gorgeous. 

And finally, I’ve seen a lot of gold and rose gold bathroom fittings around but when I stumbled across this baby pink mixer tap at Dowsing & Reynolds I made a little excited scream noise. 

Iced banana loaf

I buy bananas and then forget about them, usually when I remember them they’ve gone a lovely mottled brown colour. It was this that inspired this recipe; it’s a way of using those overripe bananas. My kids don’t know that it has banana in it either, if they did they wouldn’t eat it- just because. So I kind of get a cheeky kick out of knowing they’re eating banana and would go mad if they found out.

Ingredients
6oz gluten free self-raising flour
6oz golden caster sugar
2 tsp xanthan gum
1 tsp gluten free baking powder
1 tbsp maca powder
175g softened unsalted butter
3 medium eggs beaten
1 tbsp honey
2 medium ripe bananas mashed

300g icing sugar
water

grease and line a 1lb loaf tin and preheat the oven to 150C.

In a bowl add all the dry ingredients  and combine with a wooden spoon.

Then add the butter to the dry ingredients mixing well, before adding the eggs and mixing well, then the honey and mashed bananas.  Ensure the mix is well combined, it won’t go completely smooth because of the bananas. Pour the mix into the loaf tin and bake for about 35 minutes or until a skewer inserted in the middle comes out clean.

Allow the loaf to cool completely.  Sift the icing sugar into a bowl and add the water a tablespoon at a time, mix until you have a thick consistency that is still spreadable.  When you’re happy with your icing mix, smooth across the top of the loaf.

Chocolate swirl cupcakes

This is the easiest recipe I make, a sponge mix with a dollop of chocolate spread, there’s not even a need to top them.

Ingredients
6oz gluten free self raising flour
1 tbsp xanthan gum
6oz golden caster sugar
6oz softened butter
3 eggs
1 tbsp honey
1 tsp vanilla extra
1 tbsp milk
Jar of chocolate spread

Preheat the oven to 150C and line a cupcake tin with 12 cases.

Put all of the ingredients in a food processor and mix until you have a well combined smooth mixture.

Spoon the mix into the cases, take a teaspoon and add chocolate spread on top of the mix, with a cocktail stick swirl the chocolate into the sponge mix.

Bake for about 20 minutes or until a skewer inserted comes out clean

Birthday day trip to Amsterdam

We’ve started a new tradition in my family, rather than buy a present we put the money towards a day trip somewhere. This week my sis and I went for a day trip to Amsterdam, a gift for my birthday. It was an early start but in less time that it takes to do most commutes we were in Amsterdam. We flew with Easy Jet, if you’re not tied to a date and can plan ahead you can get some good deals, we also did Dublin with Ryanair in the summer for just £9.99 (that was the Christmas present).

Schipol has a great rail link into Amsterdam Centraal, the journey is just 15 minutes and there are several trains an hour, a return ticket was €9.60. We didn’t plan anything apart from a trip to the Anne Frank Museum, this is something that we both really wanted to do but that you really need to book ahead for.

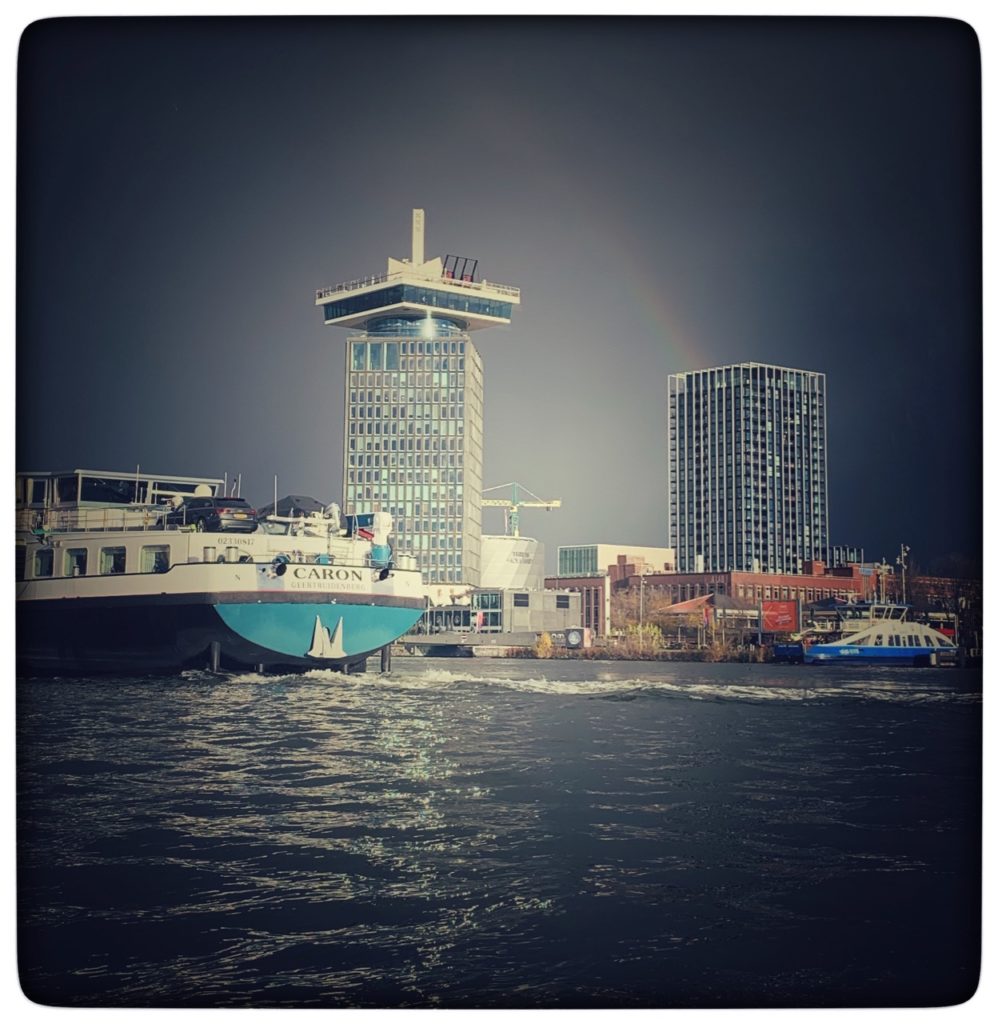
So by 10am we were in the middle of Amsterdam. With no set plans we decided to get a good look around the city by boat. The boat tour we did was €11 for an hour, each company offers slightly different tours but as they all depart from a similar areas you can have a look around to see which one you prefer.

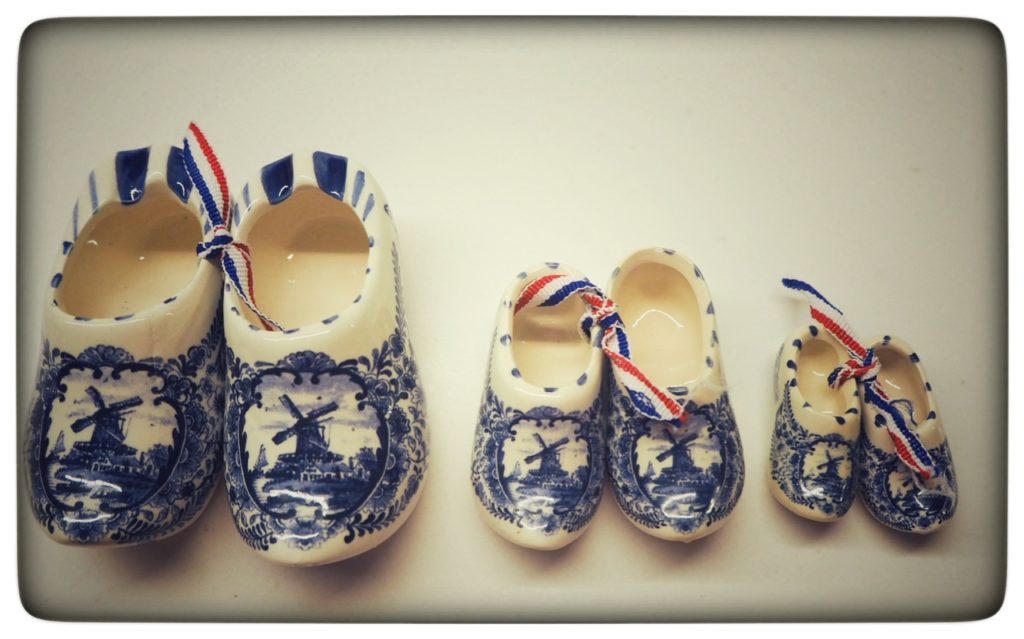
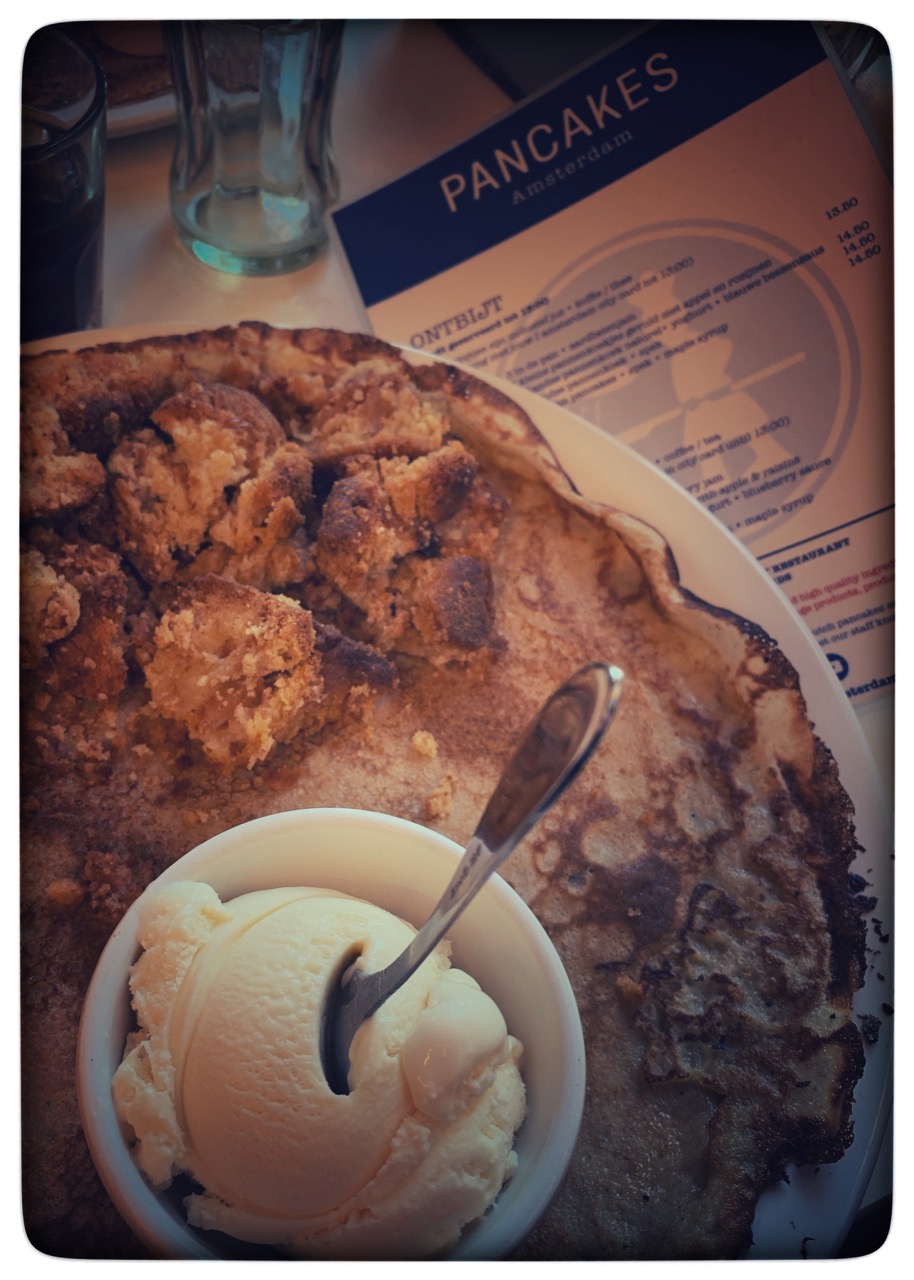
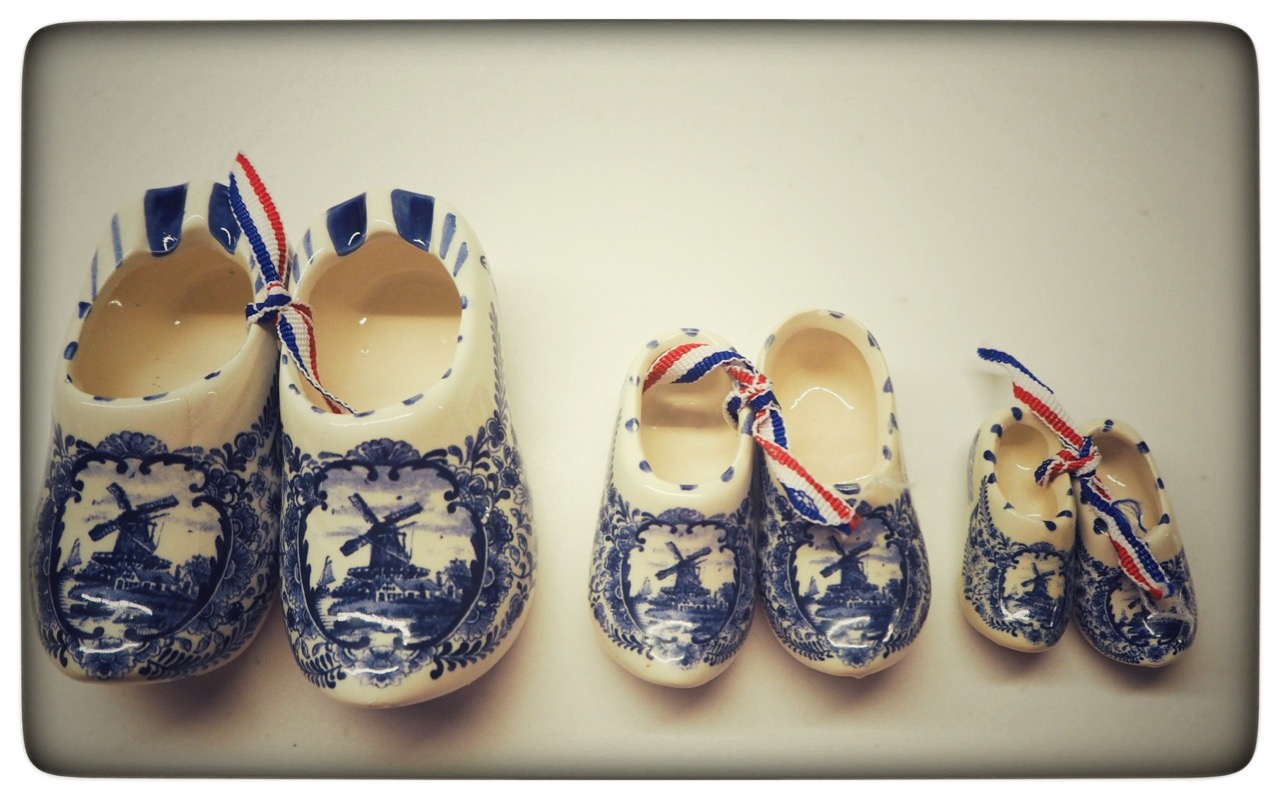
We stepped off the boat and into Pancake Amsterdam it has a great menu of, well, pancakes, and after drooling over the menu we both went for a dutch pancake with apple crumble and ice cream. I don’t think anything will ever top that pancake. The cherry on the cake was the souvenir clog keyring we each got when we paid.

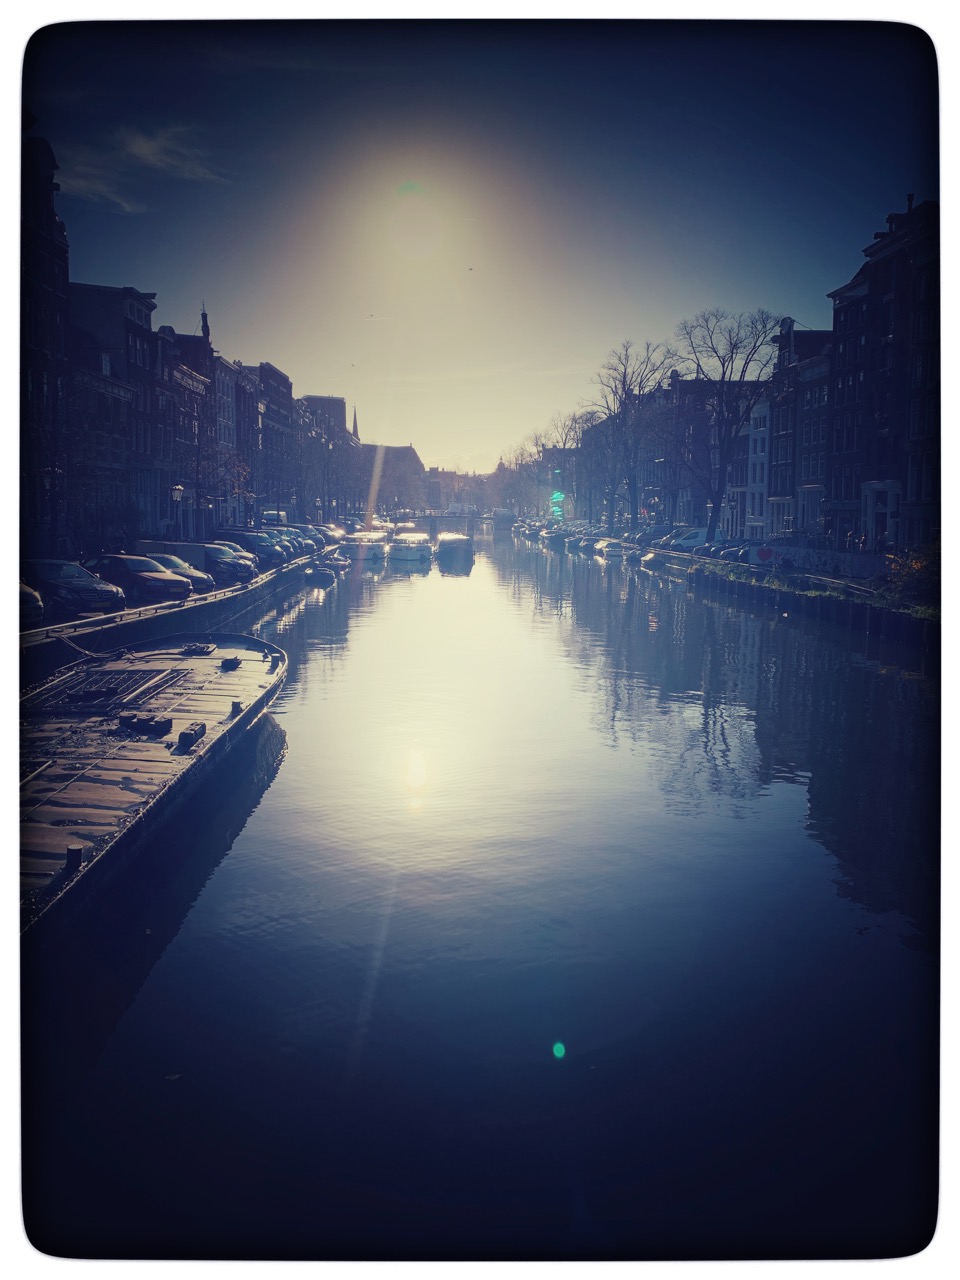
With full happy stomachs we had a wander down to Dam Square and on towards Prinsengracht, Amsterdam is a pretty compact city so it’s easy to have a meander through the streets and walk to the majority of touristy destinations.

I’ve wanted to visit the Anne Frank house since I read her diary at school. It’s difficult to describe the secret annexe just because it is one of those places that needs to be seen and felt. There are poignant reminders of the family, the postcards and pictures that Anne glued to the wall and the map that Otto stuck pins in to mark where Allied forces had landed.

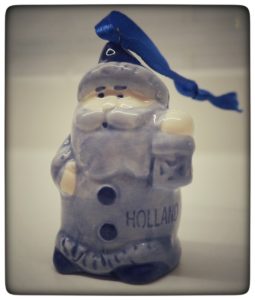
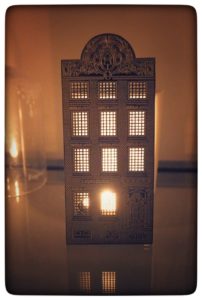
There are lots of little side streets with unique shops that run off Prinsengracht, these are good for souvenirs that aren’t your run of the mill and for lovely home things. I picked up Christmas decorations and tealight holders.

I also picked up a vintage sequin top in one of the vintage shops. Of course I couldn’t go to Amsterdam and not come back with the obvious souvenirs like clogs and a penis shaped salt-shaker.

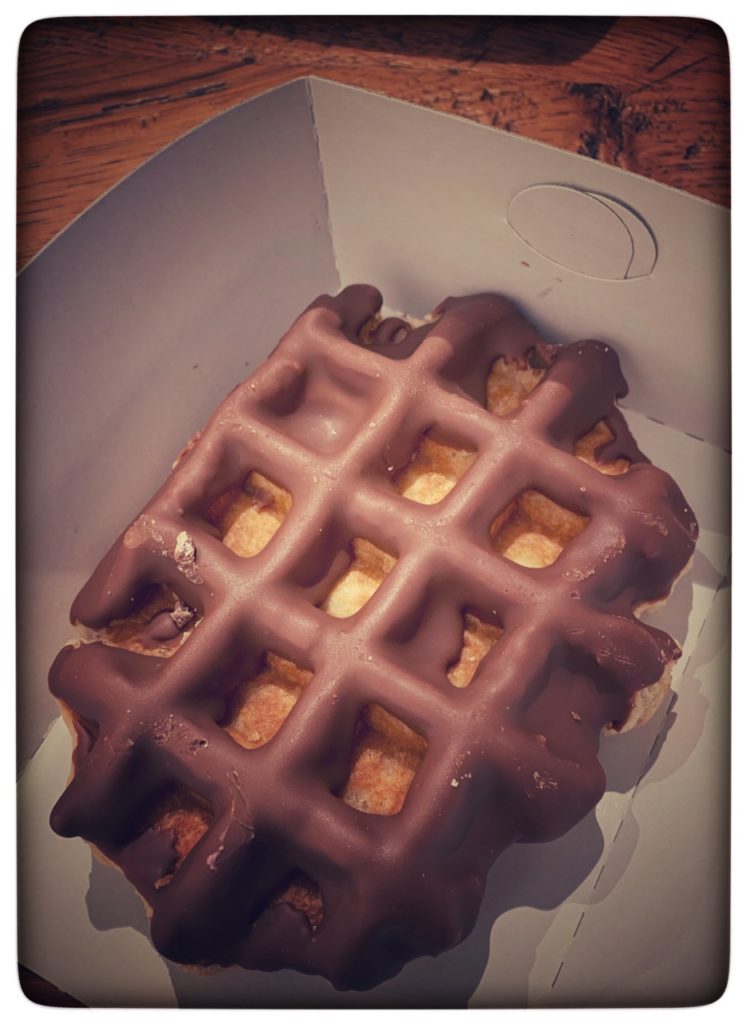
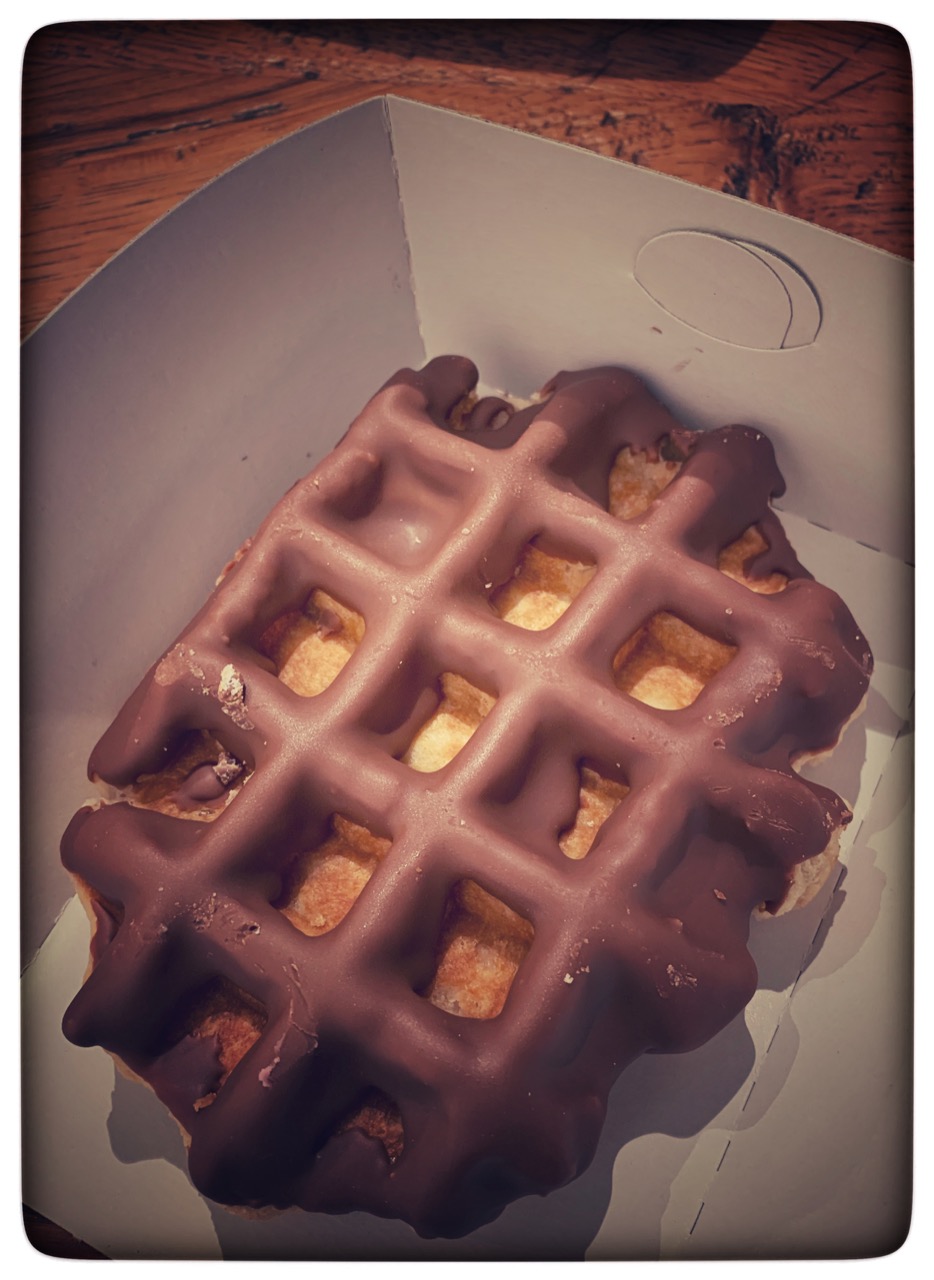
And if you want to sample the obvious Amsterdam then there is nowhere better than the red light district. If nothing else, this part is fascinating, the girls in the windows, the adult theatres and the coffee shops all dotted around the beautiful Oude Kerk church and along the canal. We went during the day and didn’t find it intimidating but it was definitely interesting. How do you top that? If you’re me, with a chocolate waffle. There are lots of bakeries dotted around the city and having got a whole set of sweet teeth, I had to go and sample a waffle, yep they’re as good as you’d like them to be.


On the back of a sugar rush we headed back to the train station and up to the airport where we boarded the plane and in an hour we were back on British soil with sore feet, happy memories and a penis shaped salt-shaker.

Toffee apple cake with toffee sauce

This is real autumn comfort food for those dark, soggy days when even reaching for the remote control seems like too much effort. The caramel and honey in this cake gives that sweet toffee flavour, the apple adds enough moisture to stop the cake feeling too heavy. Serve with a dollop of toffee sauce, curl up in front of the tv and get all warm and cosy.

180g Gluten free self raising flour
1 tsp xanthan gum
1 tsp ground cinnamon
175g unsalted butter at room temperature
130g soft, light brown sugar
1.5ml caramel flavouring
2 tbsp honey
2 medium apples peeled and grated
3 medium eggs beaten

Toffee sauce
50g soft light brown sugar
50g unsalted butter
70 ml double cream

Preheat the oven to 150C and line a 1Lb loaf tin.

Sift the flour, xanthan gum and cinnamon into a bowl and put to one side.

Cream together the butter and when it is light and fluffy stir in the caramel flavouring, honey and grated apples.

Fold a third of the flour mixture into the sugar and butter mix, add a third of the eggs and fold until well combined. Add another third of the flour mix, fold well and then add a third of the egg and fold. Do this until all the ingredients are well combined. Pour the mix into the loaf tin and bake for approximately 30 minutes or until a skewer inserted in the middle of the sponge comes out clean.

The toffee sauce can either be made straight away and used when the cake is warm, or over the cooled cake. The sauce will keep in the fridge for 24 hours.

Add the sugar, butter and cream unto a pan and gently heat until the sugar dissolves. Pour the sauce over the cake and enjoy.

Individual Chocolate Cake

It’s been a while since I’ve posted anything with my favourite ingredient- chocolate, and I need to put this right.  Don’t be fooled by the size of these cakes, they are full on chocolate and the whipped cream is the perfect indulgent companion. I’m not big on fiddly things, so this recipe is as simple as could be. It’s an all in one recipe and made in a large square cake pan, but the results look and taste gorgeous.  This recipe makes 7 individual cakes.

Ingredients
6oz golden caster sugar
180g softened unsalted butter
6oz gluten free self raising flour
1 tsp xanthan gum
2oz cacao powder
3 large eggs
1 tsp vanilla extract
1 tbsp honey
1 tbsp milk

For the filling
250ml double cream

For the topping
150g milk chocolate

You’ll also need a large square baking tin, I used a 30cm x 30cm tin, along with a circular biscuit cookie, I used a 3cm diameter one.

Line the baking tin and preheat the oven to 150C.

I like the all in one method for sponge cakes, so in a food processor add all of the cake ingredients except the milk, and mix well until all the ingredients are well combined. If the mix is too firm add the milk.

Pour the mix into the tin and bake for about 30 minutes.

When a skewer in the middle of the sponge comes out clean, allow the cake to cool completely.

When cool cut out the rounds from the sponge.

Whip the cream and place a good dollop in between to pieces of sponge.

Break the chocolate into small pieces and melt on a bain marie.  Drizzle the chocolate over the sponges and allow to cool.


Just a few bits…

So I’ve got a bit of a thing for kitchens, it’s the room I’m drawn to and definitely the place I spend the most time. It’s not just the furniture that I lust after, although I do dream of a pink Aga, but all the accessories and finishing touches.

For years I lived in student houses and then rented, they were never places where I could have made cosy or my own, so now I’m making up for lost time. I view my house as an on-going project, there are always ideas that I screen grab and an ever growing shopping list. In our house, these accessories have become known as ‘just a few bits’and I’m always on the look out for more bits. I discreetly add these bits and then wait for husband to notice.

One place I’ve accessorised with a few bits, is the top of the kitchen cupboards. We have two white cupboards on a white wall on either side of the cooker hood, which I felt looked a bit bare. I ordered a couple of mirror balls from EBay, for less than £30 they added a bit of interest and sparkle to an otherwise empty space.

Then while having a good old look online, I found a perspex ‘dancing ‘sign on Rockett St George. I ummed and arghed, put it in my basket, ummed and arghed some more then hit the buy button and cowered. A week later my sign arrived, bigger than I thought because I never measured it, but when I put it on top of the cupboard it actually seemed pretty damn perfect.

On the other side is a small collection of the Crystal Head Vodka bottles. Neither my husband or me drink vodka but we first saw the bottles in Vegas a few years ago. We didn’t buy one and regretted it instantly. Then as if by magic, we received one in the post as a gift.  It looked too damn good to hide away, so we put it on top of the kitchen cupboard. The Aurora one was a Christmas present and the baby one was picked up in America, it’s now like the three bears but in vodka skull form, on top of the cupboard.

Parkin

It’s Bonfire night and so, as someone living in Yorkshire, it’s only right to feature Parkin. It’s as old as the hills and something that I’ve definitely appreciated more as an adult. Although you can eat parkin straight away, it’s firmer on the day of baking and by leaving for a good few days, the syrup and treacle soften the texture. If you like a really dark parkin, add more treacle and brown sugar. This is a gluten free version but impossible to tell the difference.

Ingredients
250g gluten free self raising flour
1 tsp xanthan gum
1 tsp ground ginger
1 tsp ground mixed spice
100g gluten free oats
200g unsalted butter
200g golden syrup
85g treacle
50g honey
80g light soft brown sugar
1 large egg
4 tbsp milk

Line a baking tin with greaseproof paper and pre heat the oven to 150C.

In a bowl mix the flour, xanthan gum, ginger, mixed spice and oats and set aside.

Put the butter, sugar, syrup, treacle and honey into a pan on a low heat. Gently heat, stirring occasionally until the sugar has dissolved and the butter melted.

Break the egg into a separate bowl, add the milk and with a fork, mix well.

Pour the butter and syrup mixture into the flour and oat bowl and mix well. Finally stir in the egg and milk mixture and mix until well combined. Pour into your baking tin and bake for about 45 minutes.

Cut into squares and store into an airtight container for 4 or 5 days.

Back to the old school

Do you remember fizz wiz, Wham bars and candy lipsticks? I still remember deliberating over what to put in my 20p mix up at the paper shop after school. This post combines my love of old school sweets and cakes.  I used a caramel flavouring and golden caster sugar in the sponge for that toffee like flavour. The amount of caramel flavour varies depending on which you’re using, I used the one from Foodie Flavours. The retro sweets came from aquarterof.

Ingredients
6oz self raising gluten free flour
2 tsp xanthan gum
6oz softened unsalted butter
6oz of golden caster sugar
3 large eggs
1.25ml of caramel flavour
1 tbsp milk

for the buttercream icing
650g icing sugar
300g softened unsalted butter
2 tbsp milk

2 Caramac bars
Bag of white chocolate fish and chips or whatever retro sweets tickle your fancy.
Edible silver spray

Line a muffin tray with 10 cases and preheat the oven to 150C. Put the Caramac bars in the freezer.

I used the all in one method for the sponge, I added all of the ingredients except the milk into a food processor and mixed well, I added the tablespoon of milk at the end. Be careful not to over mix using this method.

Divide the cake mix between the cases and bake for about 15-20 minutes- until golden brown and a skewer inserted comes out clean. Allow to completely cool.

To make the buttercream icing, sieve the icing sugar into a bowl and add the softened butter mix well adding the milk if the buttercream is too firm. I can use the same amount of ingredients and the same method and each time the buttercream varies slightly, it’s worth having extra icing sugar and milk just in case. When you’re happy with the consistency, fill a piping bag and pipe onto the cooled cakes.  Decide which cakes are going to be topped with which sweet.

Because I wanted to use white chocolate fish and chips, I sprayed those cakes with an edible silver spray to break them up a bit.

For the cakes topped with Caramac, take the bar out of the freezer, this makes it easier to break up into clean pieces.