Browsing Category

Travel

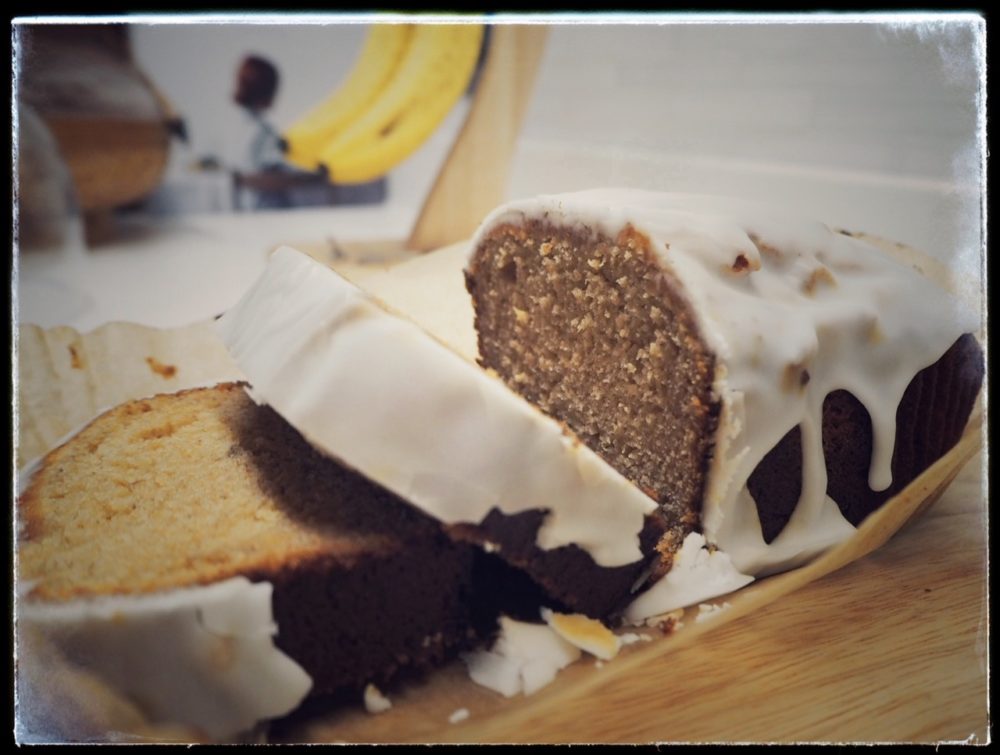
Iced banana loaf

I buy bananas and then forget about them, usually when I remember them they’ve gone a lovely mottled brown colour. It was this that inspired this recipe; it’s a way of using those overripe bananas. My kids don’t know that it has banana in it either, if they did they wouldn’t eat it- just because. So I kind of get a cheeky kick out of knowing they’re eating banana and would go mad if they found out.

Ingredients
6oz gluten free self-raising flour
6oz golden caster sugar
2 tsp xanthan gum
1 tsp gluten free baking powder
1 tbsp maca powder
175g softened unsalted butter
3 medium eggs beaten
1 tbsp honey
2 medium ripe bananas mashed

300g icing sugar
water

grease and line a 1lb loaf tin and preheat the oven to 150C.

In a bowl add all the dry ingredients  and combine with a wooden spoon.

Then add the butter to the dry ingredients mixing well, before adding the eggs and mixing well, then the honey and mashed bananas.  Ensure the mix is well combined, it won’t go completely smooth because of the bananas. Pour the mix into the loaf tin and bake for about 35 minutes or until a skewer inserted in the middle comes out clean.

Allow the loaf to cool completely.  Sift the icing sugar into a bowl and add the water a tablespoon at a time, mix until you have a thick consistency that is still spreadable.  When you’re happy with your icing mix, smooth across the top of the loaf.

Birthday day trip to Amsterdam

We’ve started a new tradition in my family, rather than buy a present we put the money towards a day trip somewhere. This week my sis and I went for a day trip to Amsterdam, a gift for my birthday. It was an early start but in less time that it takes to do most commutes we were in Amsterdam. We flew with Easy Jet, if you’re not tied to a date and can plan ahead you can get some good deals, we also did Dublin with Ryanair in the summer for just £9.99 (that was the Christmas present).

Schipol has a great rail link into Amsterdam Centraal, the journey is just 15 minutes and there are several trains an hour, a return ticket was €9.60. We didn’t plan anything apart from a trip to the Anne Frank Museum, this is something that we both really wanted to do but that you really need to book ahead for.

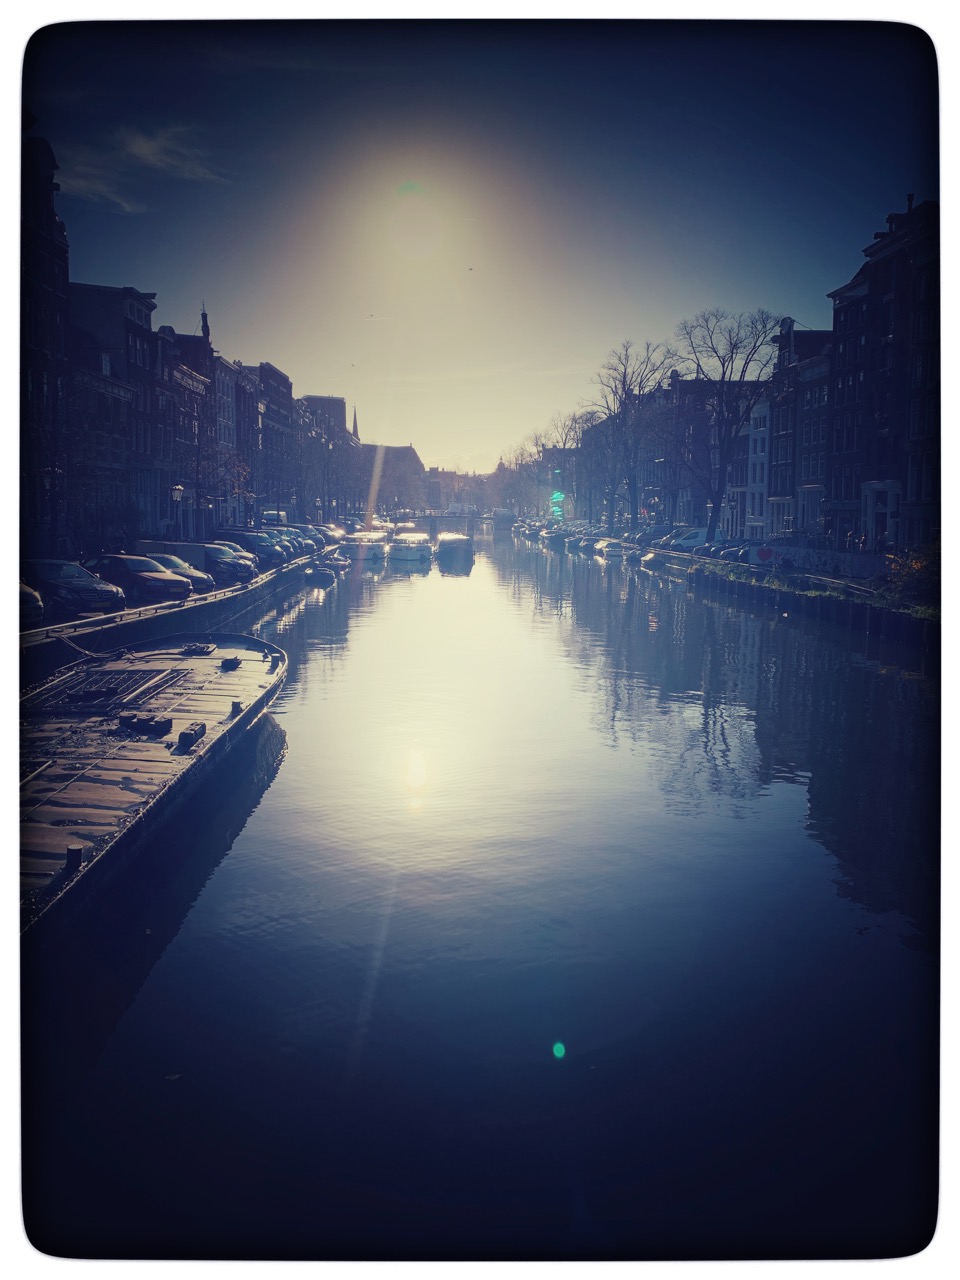
So by 10am we were in the middle of Amsterdam. With no set plans we decided to get a good look around the city by boat. The boat tour we did was €11 for an hour, each company offers slightly different tours but as they all depart from a similar areas you can have a look around to see which one you prefer.

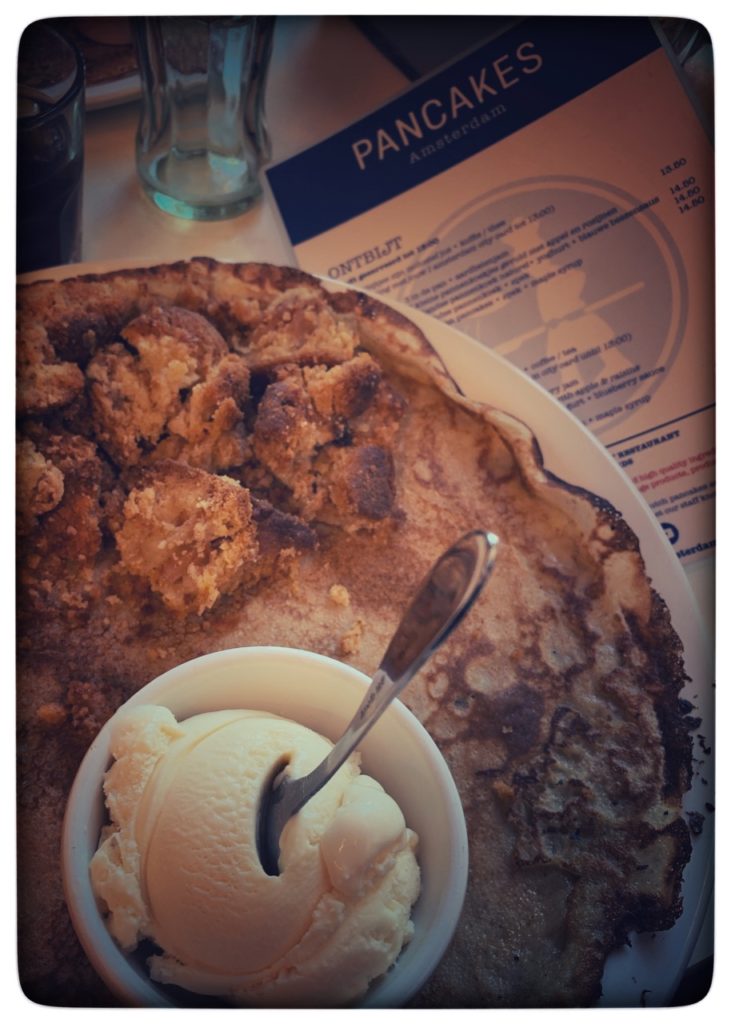
We stepped off the boat and into Pancake Amsterdam it has a great menu of, well, pancakes, and after drooling over the menu we both went for a dutch pancake with apple crumble and ice cream. I don’t think anything will ever top that pancake. The cherry on the cake was the souvenir clog keyring we each got when we paid.
With full happy stomachs we had a wander down to Dam Square and on towards Prinsengracht, Amsterdam is a pretty compact city so it’s easy to have a meander through the streets and walk to the majority of touristy destinations.

I’ve wanted to visit the Anne Frank house since I read her diary at school. It’s difficult to describe the secret annexe just because it is one of those places that needs to be seen and felt. There are poignant reminders of the family, the postcards and pictures that Anne glued to the wall and the map that Otto stuck pins in to mark where Allied forces had landed.

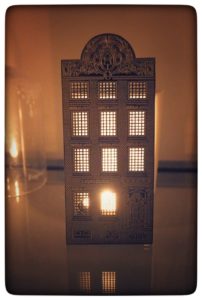
There are lots of little side streets with unique shops that run off Prinsengracht, these are good for souvenirs that aren’t your run of the mill and for lovely home things. I picked up Christmas decorations and tealight holders.

I also picked up a vintage sequin top in one of the vintage shops. Of course I couldn’t go to Amsterdam and not come back with the obvious souvenirs like clogs and a penis shaped salt-shaker.

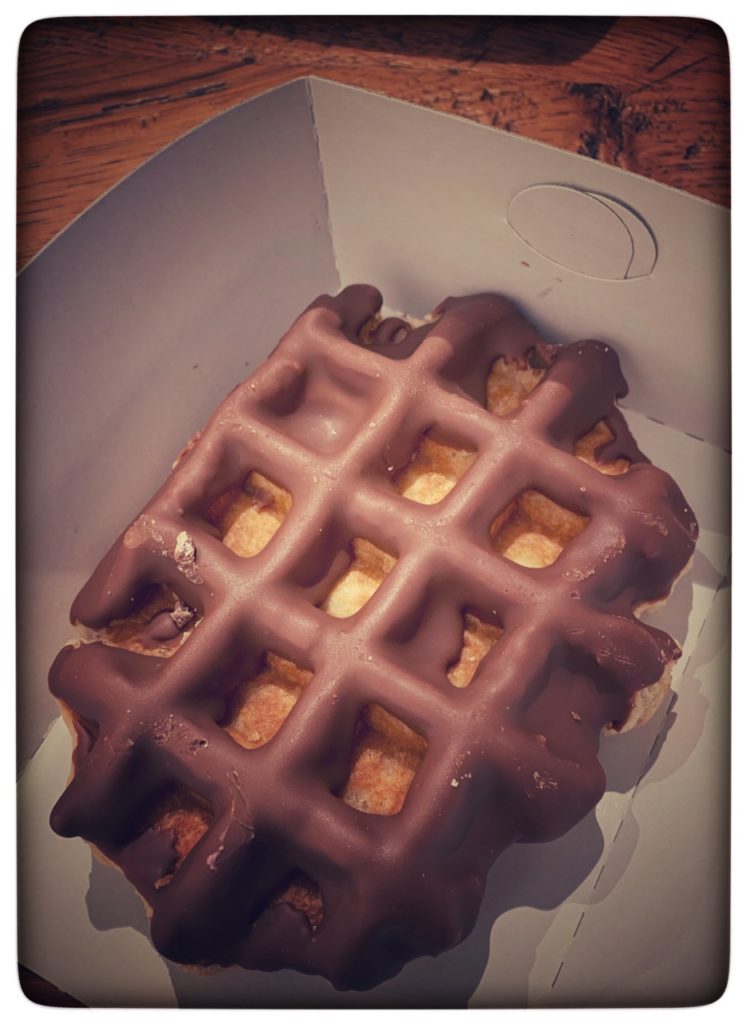
And if you want to sample the obvious Amsterdam then there is nowhere better than the red light district. If nothing else, this part is fascinating, the girls in the windows, the adult theatres and the coffee shops all dotted around the beautiful Oude Kerk church and along the canal. We went during the day and didn’t find it intimidating but it was definitely interesting. How do you top that? If you’re me, with a chocolate waffle. There are lots of bakeries dotted around the city and having got a whole set of sweet teeth, I had to go and sample a waffle, yep they’re as good as you’d like them to be.

On the back of a sugar rush we headed back to the train station and up to the airport where we boarded the plane and in an hour we were back on British soil with sore feet, happy memories and a penis shaped salt-shaker.

Autumn Days- Halloween

I love this time of year, the frosty mornings, dark, cosy nights and the colours. And there are so many excuses to celebrate, so with that in mind I’ll be tuning in to all things autumnal in the coming weeks. Where better to start- Halloween.

These last few years Halloween has really been ramped up, the costumes, parties and decorations are just getting bigger and better. So while I’ve been out and about I’ve been snapping the best Halloween treats and trying to learn a few tricks.

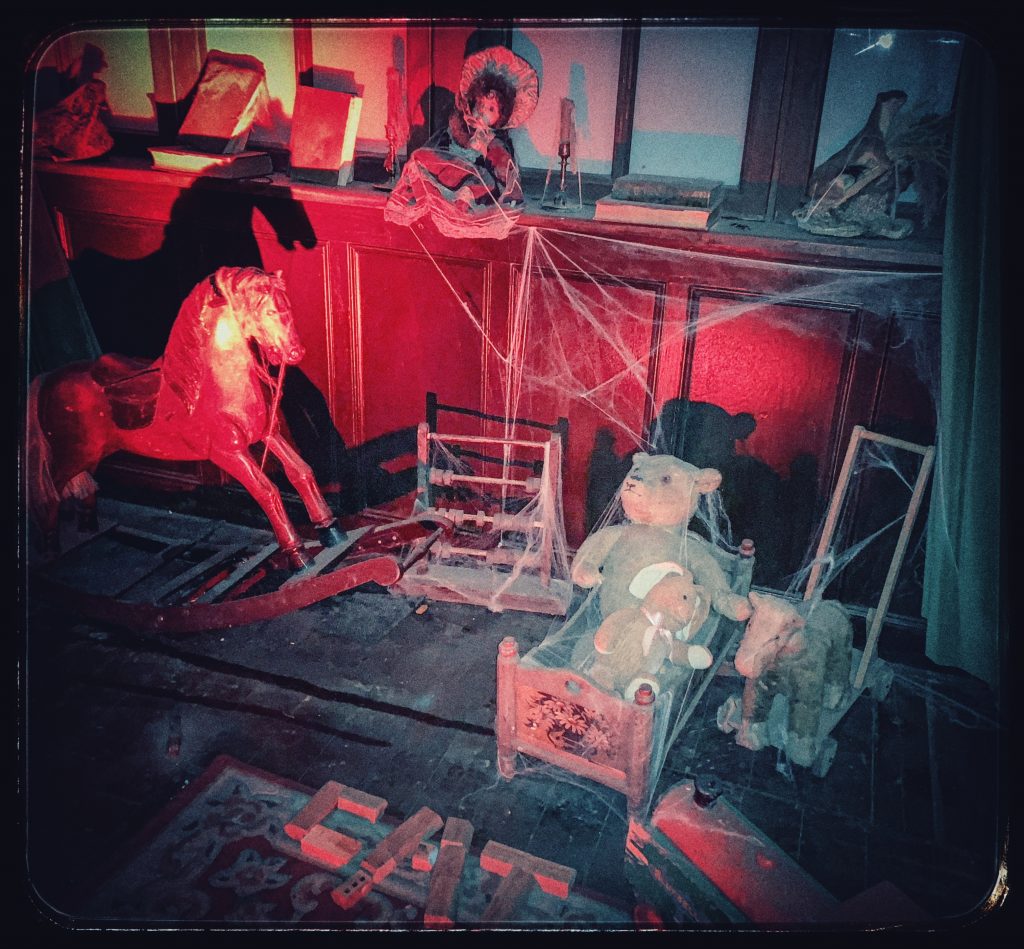
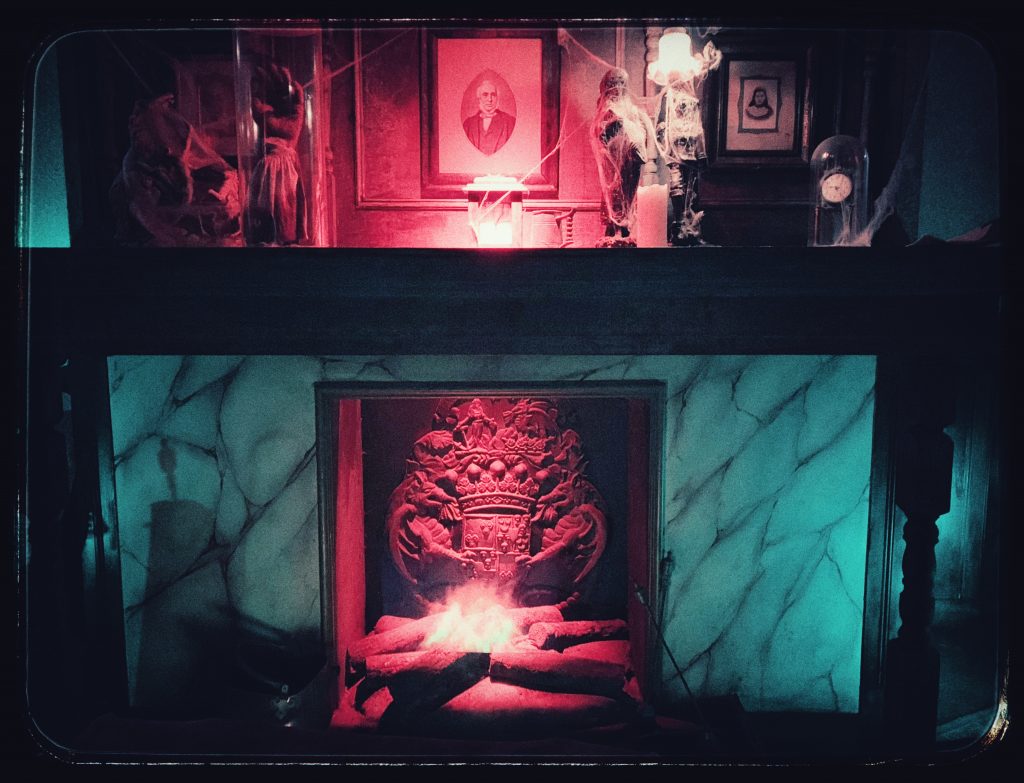
One light bulb moment came when I saw this display of old, kids wooden toys. Cobwebs, dust and careful lighting make this scene look like it’s straight out of a horror film- you’re just waiting for the rocking horse to start moving. This would be perfect for a house party.

The hosts of this soiree look all nice and friendly but I don’t fancy what they’re serving up, boiled brain anyone?


The spooky cut out at the back is one idea I’m going to do, I thought of sticking one in the window.

It wouldn’t be Halloween without a decorative grave stone, I like the idea of using it for directions like this one.

These statues remind me of those mime street performers. Admittedly these kind of props could be a stretch, but an old mossy garden ornament with solar lights and a good dose of autumn leaves would be just as ethereal.

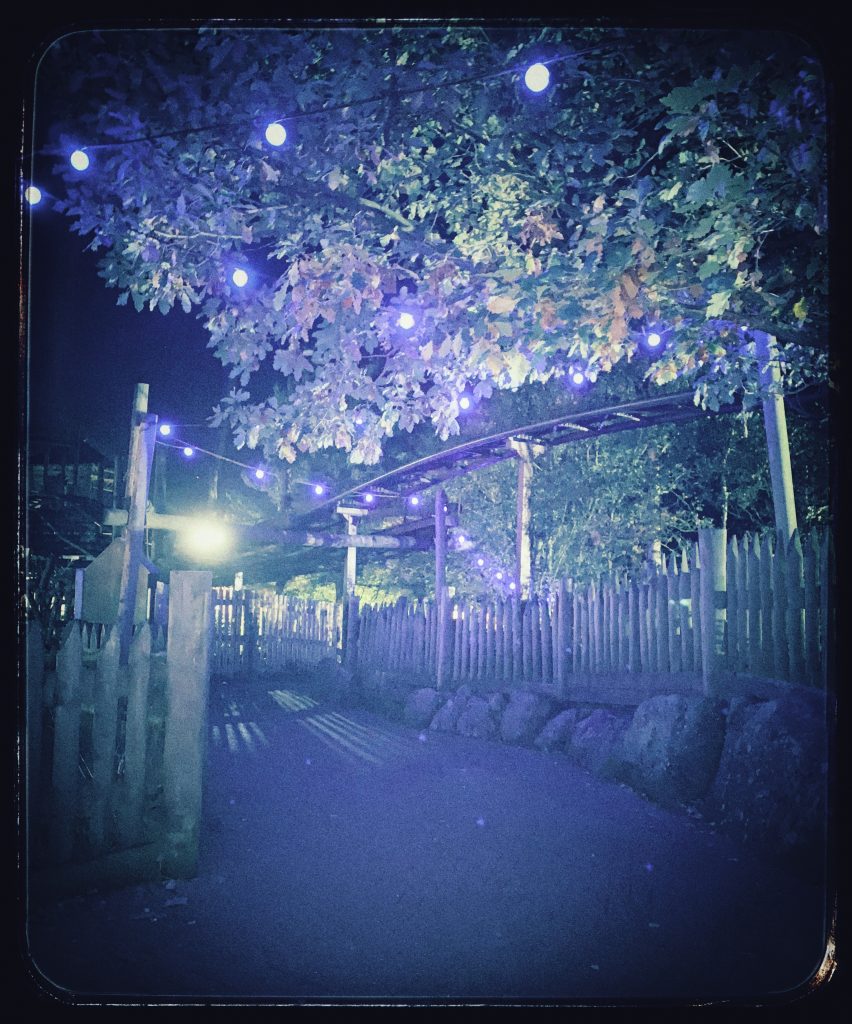
Speaking of lights, I love the vintage, globe lights. They look so pretty through trees and festooned in gardens.  They’re not strictly Halloween but I’m thinking that lighting the garden with these lights might mean that we can get more use from it during the autumn and winter months.

Bedtime Cookies

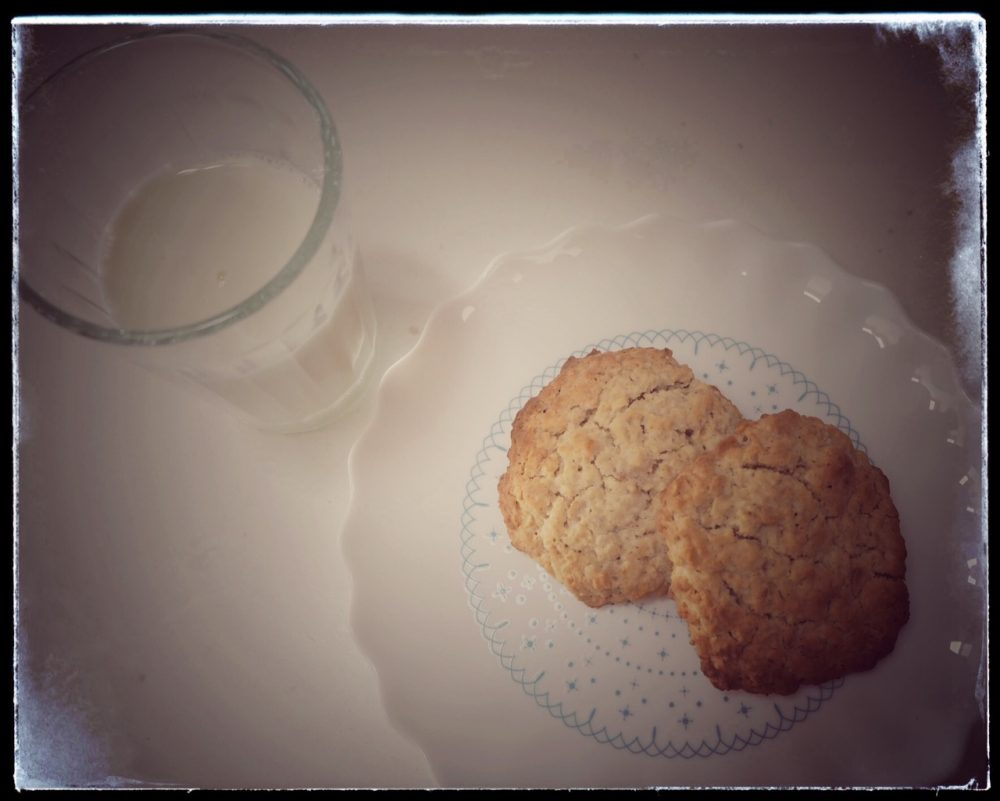
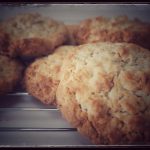
The thing with kids is, you give something a novelty name and they want to try it. If I asked ‘would you like a low sugar, oaty biscuit’ for supper I can pretty much guarantee they’d turn me down, somehow calling this a bedtime cookie makes it OK. This cookie recipe uses as little sugar as possible, I’ve tried less than the 80g, but it just tasted a little bland, even when trying to balance it out with more sugar.

Ingredients
125g unsalted butter softened
80g golden caster sugar
2 tbsp honey
1 large egg
juice of ½ lemon
140g gluten free porridge oats
140g gluten free plain flour
1 tsp xanthan gum
1 tsp gluten free baking powder

Preheat the oven to 150C and line a tray with baking paper.

Cream together the butter and sugar until light and fluffy.

Add a third of the oats and stir well before adding the egg, lemon juice and honey and once again stirring well to combine all of the ingredients.

Add another third of the oats, stirring well before adding the final third.

Add the flour, xanthan gum and baking powder and combine well. You want a sticky mixture that holds its shape.

Make 12 golf sized balls and gently flatten down until it’s the depth of about a centimetre.

These will take about 15 minutes to bake. When the outside of the cookies is brown but the middles are soft, remove from the oven. Leave to cool and firm for about 15 minutes.

baked eggless doughnuts

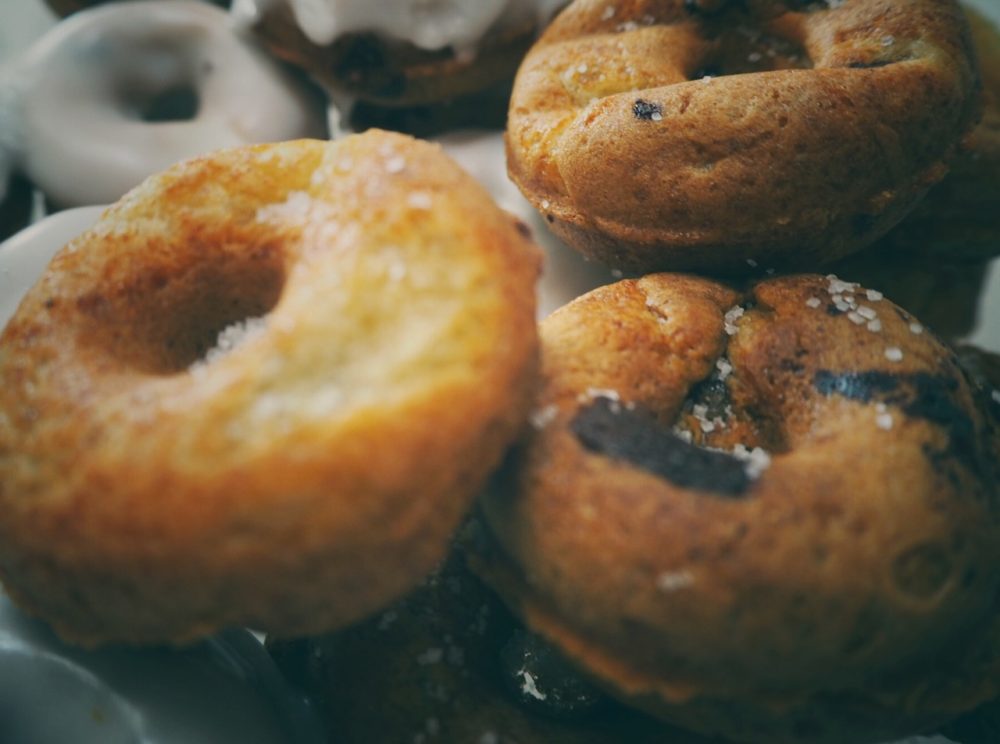
You know those times when you go into a supermarket for one thing and then come out with something completely different? This is one such time. I went in for milk and came out with a diffuser selection and a mini doughnut maker. I should have added eggs to my random shopping, because when I got my new toy home I had to try and adapt a recipe because we had no eggs. I did however have chocolate chips so every cloud and all that.
This recipe substitutes eggs with oil. I’ve tested it a few times and each time the amount of oil is uses varies slightly. So with that in mind, the ingredients listed below use the maximum amount of oil i’ve used, it adds a bit at a time, which gives you a good gauge on whether you need to use the full amount.

60g unsalted butter
170g golden caster sugar
1 ½ teaspoons gluten free baking powder
1 ½ teaspoons xanthan gum
1 teaspoon ground cinnamon
1 teaspoon vanilla extract
150 g gluten free plain flour
8 fluid ozs milk
8 fluid ozs olive oil
4 oz chocolate chips

Preheat the mini doughnut maker

In a bowl cream together the butter and the caster sugar until it becomes light and fluffy.

Add the baking powder, xanthan gum, cinnamon, vanilla extract and a third of the flour and mix until well combined.

Add half of the milk and stir until well mixed, before adding another third of the flour and mix.

Add half of the oil and mix, add the remaining flour and mix well.

Stir in the remaining milk. You’re looking for a mix that is thick, shiny and holds it’s shape without being tough and this is where you may need to add the remaining oil to get that. Add a tablespoon at a time until you’re happy with the mix.

Finally stir in the chocolate chips.

Add enough of the mix to the doughnut maker so that it fills the base of the individual pan. Each batch will take approximately 3-6 minutes to cook, they’re ready when they look golden brown and remove easily from the pan. This recipe makes about 18 mini doughnuts.

Not so traditional blondie recipe

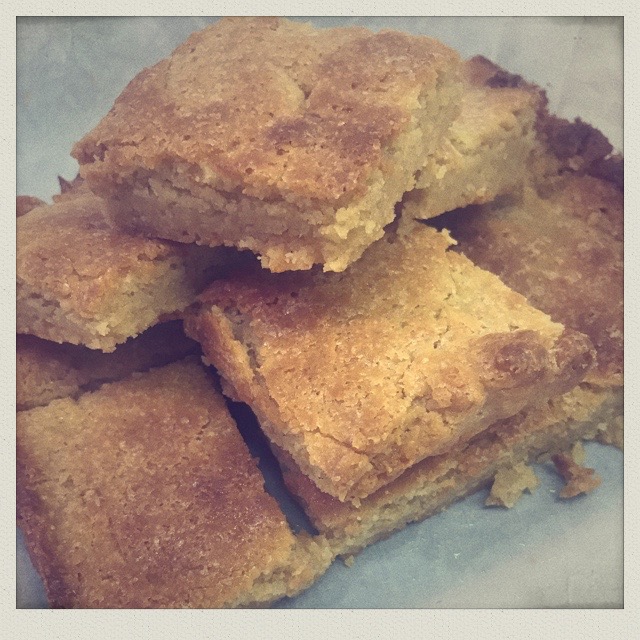
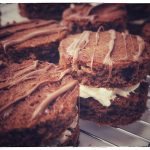
Where traditionally a blondie has no vanilla and uses brown sugar, this recipe uses both and it also involves melting the white chocolate in the same way you would the milk or dark chocolate in a traditional brownie. And while I’m at it, instead of adding nuts, a frequent addition to a blondie, this uses linseed. Oh and to really throw caution to the wind, it’s gluten free.

Ingredients
150g white chocolate buttons
125g unsalted butter
150g golden caster sugar
3 tablespoons golden linseed
1 teaspoon vanilla extract
200g gluten free plain flour
1 tablespoon xanthan gum
2 medium eggs

Rectangular tin

Preheat the oven to 150C and grease and line your tin.

Melt the chocolate buttons and the butter in a bowl over a simmering pan of water. Just as the last piece of chocolate is about to melt, remove the bowl from the pan and stir until it has melted.
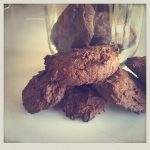
Add the linseed and vanilla and then stir in the flour and xanthan gum before finally adding the eggs, one at a time.

When the mix is well combined, pour into your lined tray and bake for about 35 minutes until that top starts to go golden and the edges just start to lift from the sides.

While the blondie is still warm, cut into squares.

Shortbread

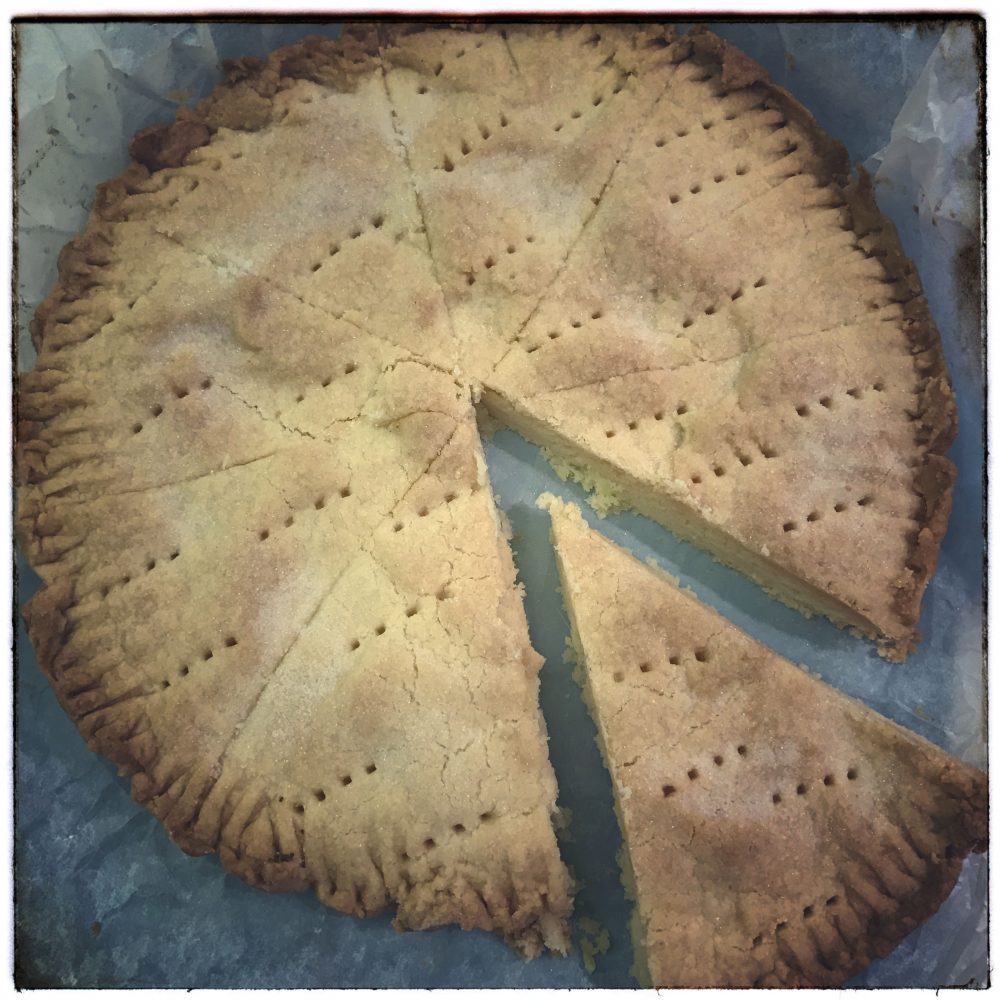
If you’re in need of a sweet treat, then shortbread is probably the easiest and quickest thing you can make. The name shortbread comes from the amount of butter you use and the bread part from the original 12th century use of leftover bread dough in the recipe. Thankfully, now with just three ingredients it’s probably one of the easiest recipes to make.

Ingredients
4oz of unsalted butter cut into small cubes
2oz golden caster sugar plus extra for dusting
6oz plain flour

Preheat the oven to 150C and grease and line a 20cm tin.

Beat the sugar and butter together until smooth.

Stir in the flour until it becomes first, you will need to get your hands in as it firms up.

Press into the tin, score across to form the pieces and then prod with a fork and sprinkle with sugar.

Alternatively, shape into fingers or biscuits.

Bake for about 20 minutes or until the shortbread starts to go golden brown, the inside should look pale still, remove from the oven and allow to sit for about 15 minutes. The shortbread will firm up.

You can also sprinkle chocolate chips over the top.

Half choc chips, have rainbow choc chips

Chocolate Brownies

I wish I could claim this recipe as my own, but credit where it’s due. This really simple Traditional Chocolate Brownie recipe is taken from The Hummingbird Bakery Cookbook, I’ve baked it time and time again and it always turns out well. The only change I have made is to replace the dark chocolate with milk chocolate, which is a personal taste thing. For a bigger chocolate hit you can add extra chocolate chips after you’ve stirred in the eggs. And for a more indulgent treat, serve with cream or ice cream. I’ve also adapted this recipe a couple of times to make it gluten free, instead of normal plain flour I used gluten free and added a couple of teaspoons of Xanthan gum.

Ingredients
200g milk chocolate broken into pieces
175g unsalted butter
325g caster sugar
130g plain flour
3 eggs

Preheat the oven to 170c/325F

Place the chocolate and butter in a glass bowl over a pan of simmering water ensuring that the bowl doesn’t come into contact with the water. Wait until the butter and chocolate has melted and is smooth.

Remove from the heat and add the sugar, stirring until it is mixed well. Add the flour (and xanthan gum if you’re making the GF version) making sure it’s all incorporated then stir in the eggs. If you want to add extra chocolate chips, stir them in now. The mixture is quite dense and runny.

Transfer into your prepped baking tray and bake for about 30-40 minutes. This is quite a moist bake so when the edges are slightly coming away from the baking tray it’s most lightly done. Allow to cool and add a sprinkle of icing sugar. As lovely as these brownies taste on the day, they seem to taste even better the following too.

Apple Crumble

I’m not sure if throwback Thursday is still a thing, but either way I’m going a bit old school with today’s recipe- apple crumble. It’s actually a really easy recipe and a sure fire way to get you reminiscing about school dinners. Custard will go lovely with this, although I am yet to find a good recipe that makes the pink custard that my school used to do.

Ingredients
5 eating apples, peeled, cored and cut into cubes
2 tablespoons of golden caster sugar
1 teaspoon ground cinnamon
1 tablespoon of water

For the crumble
130g plain flour
60g golden caster sugar
60g unsalted butter plus extra for on top

pie dish, for this amount I used an 20cm diameter one.

Place the apple, a tablespoon of sugar, cinnamon and water into a pan and heat gently for about 5 minutes, then place the apple mixture into your pie dish.

In a food processor, or by hand if you’re hardcore, blend or rub together the flour and butter until you get a breadcrumb like mixture.

Place the crumble over the apple mixture, sprinkle the remaining sugar over the top and dot about 4 penny sized pieces of butter around the top.

Bake for about 25 minutes or until the top turns golden brown.

Double Choc-chip cookies

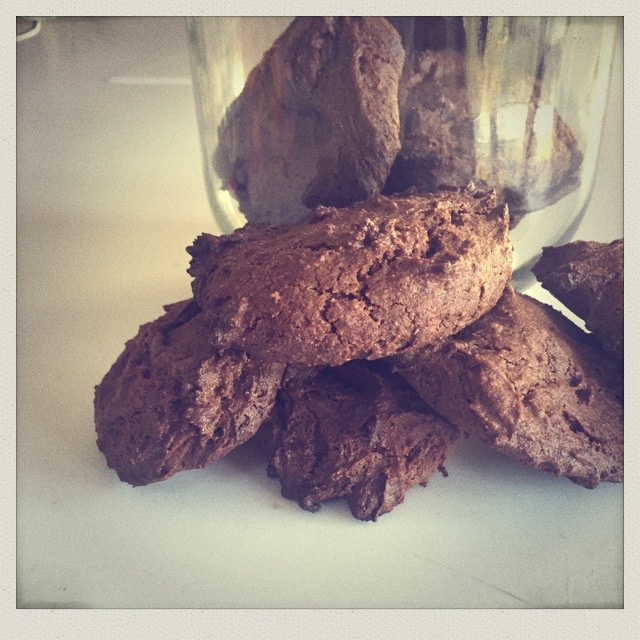
So this recipe was a bit of an experiment, I wanted to see if I could make a good biscuit without the need for loads of sugar. It’s taken a few attempts and along the way I thought I might as well make it gluten free too.

Ingredients
140g gluten free oats
165g plain gluten free flour
2 tablespoons raw cacao powder
2 tablespoons linseed
1 teaspoon gluten free baking powder
1 teaspoon xanthan gum
125g melted unsalted butter
3 tablespoons honey
2 medium eggs beaten
1 teaspoon vanilla extract

125g milk chocolate chips

Pre-heat the oven to 150C.

Put all the dry ingredients into a bowl and mix well.

Add the butter, eggs, honey and vanilla one at a time mixing well before adding the next ingredient.

Finally stir in the chocolate chips, you should end up with a firm mix that holds itself into a ball.

The mix should make about 14 cookies, break a piece of the dough, roll into a gold ball and flatten onto a baking tray before gently pressing down to flatten.

These should bake in about 15 minutes.